

With shifting colors of fall and the quickly approaching winter chill, it’s time to head into the darkroom to do some printing. The cooler temperatures make my working in our darkroom easier given that the heat of a California summer just makes working in this non-air conditioned space all but impossible.
In the process of running some test prints, things however didn’t seem quite right. I was losing sharpness on the left side of my prints and there was a terrible slack in the focusing. It seemed that it was time for some maintenance on our Beseler 45MX.
The Beseler 45MX series of enlargers I’ve always heard were considered to be an acquired taste. They are not the fanciest of enlargers, but with the ability to print from 4x5 negatives, its always been my go-to since we purchased it out of the back of a truck at the end of a photography swap meet in San Jose 13 years ago. Over the years, our 45MX has seen it’s share of add-ons (the table it’s mounted to is a 1970’s era metal desk that my Dad was kind enough to make brackets for), but it’s been reliably maintenance free.
That said, I didn’t print much last winter due to scheduling conflicts and the heat flux within the space over a brutal summer no doubt did not help. Not afraid of a tear down I set about to not just realign, but also modify the swing in the lens board.
Reducing slack in focusing rail
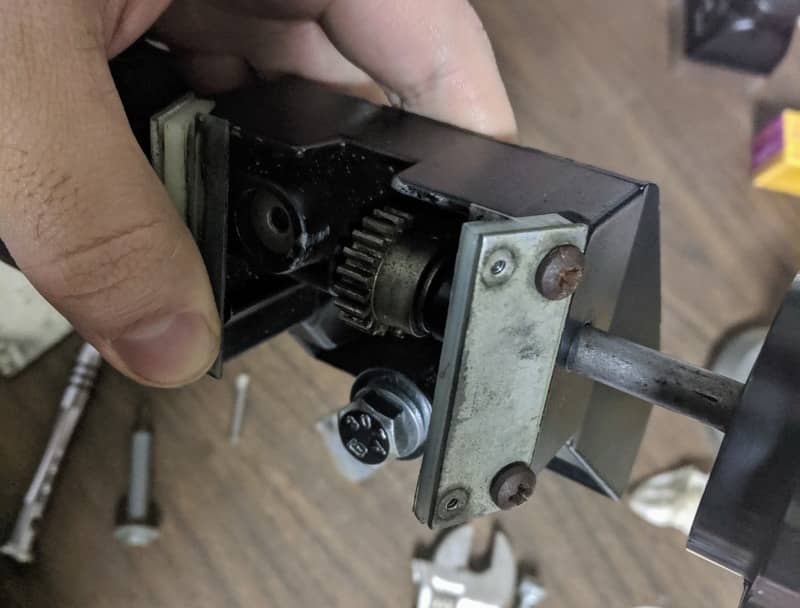
On focus, I could feel the bottom stage shift left to right. This was unrelated to the swing and is caused by the nylon rails either being worn out or the bolts and set screws being too loose against the focus rail.
In my case, the nylon rails are in pretty solid shape on this enlarger (which saved me from designing and printing a new set), but you can see that I never replaced the initial hardware that came with the enlarger (some of which is clearly not from the stock enlarger setup). Besides showing signs of rust some of these bolts and set screws are simply not the correct size or length, which makes the rails not sit even or tightly.
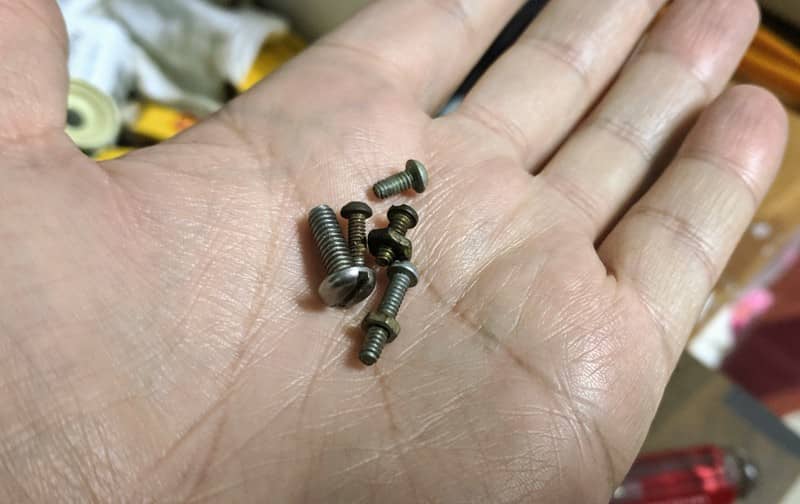
The quick fix is to head on down to the hardware store and pick up some fresh #8-32 1/2 inch machine screws and some #4-40 1/4 inch machine screws. Now I, replaced the tiny 1/4 inch screw length with 1/2 inch just to make my life easier, but with the new screws in place and a careful replacement of the bottom assembly (being careful to align and not break the gear teeth) the focus slack is removed with very little need for pressure adjustment from the #4-40’s.
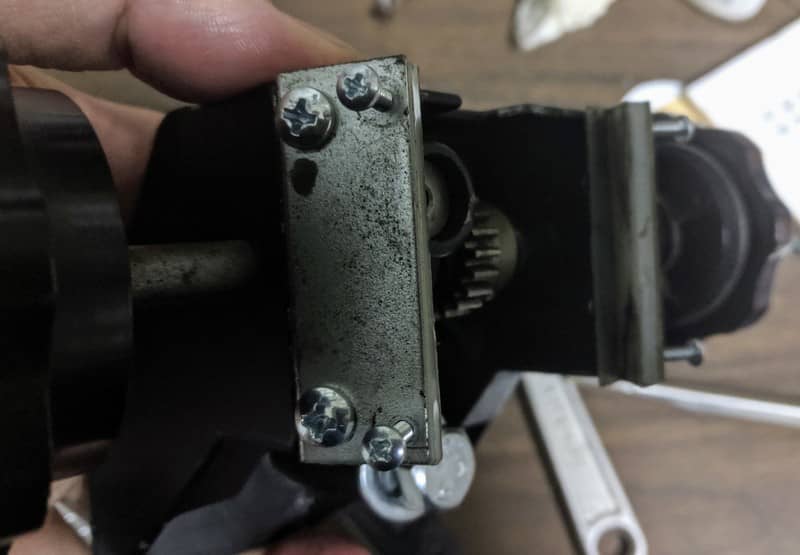
The end result is a proper fit and no more slack in the focus knobs.
Removing the swing
In my version of the 45MX (ala the 45MX-II), the bottom lens stage can be tilted and positioned, allowing you to control distortion on a negative. Not all 45MX series enlarger had this feature and it just isn’t one of those things that I’ve found much use for in practice. This, combined with the ball bearing and the locking nut to make his feature work, has a tendency to wander in my enlarger.
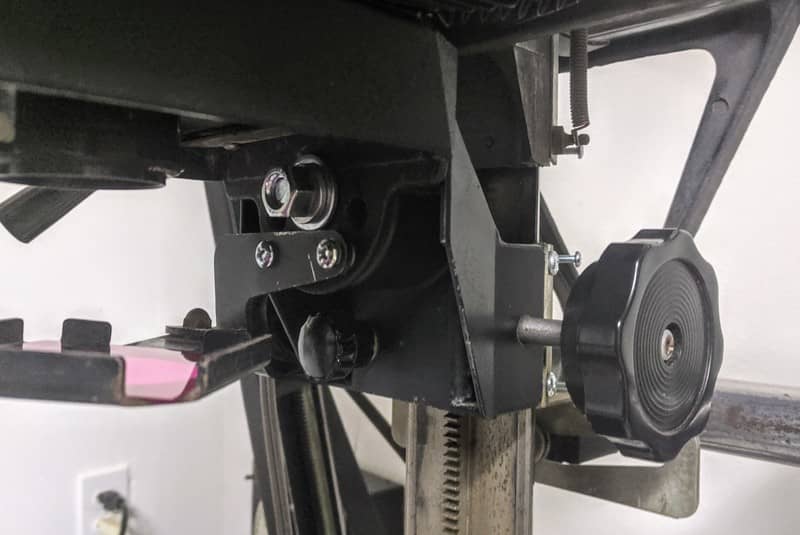
No longer wanting to deal with this, I decided to simply remove the ball bearing and put in a new 3/8" bolt and locking washers.
The problem is the lens stage and the back lens rail assembly have different holes sizes. The solution is to drill out the front lens assembly hole by about a 1/4".
Having disassembled the bottom len stage from the focus rail and bellows, the front swing piece and 3/8" drill bit in the press, and we get a perfect bolt fit. Realigning the two pieces to be level and reattached, we get rid of any left+right wiggle from this piece, though we still have some ground to cover.
Putting it all back together to align
With two piece of wiggle largely removed, you do have to take care not just to throw it back together. Things to keep in mind:
- Be weary of forcing the bottom stage back onto the focus rail; if you not careful, you’ll break a gear tooth.
- You may have to tighten the bolts on the nylon rails after you put the stage back on the rail. If it’s too tight, do not force it, you’ll just break it.
- The screws around the bottom bellows are a pain in the neck to get to. Use the right size screw driver otherwise you’ll slip out and possibly damage your bellows.
Taking these things into consideration, I was able to without much effort put everything back together.
But we’re not done yet.
As I mentioned, the lens stage can swing (which I took out above with the bolt). The negative stage can also swing, so we have to align and firm up the pivot bolt to level our side-to-side. This is not permanent and to get this right you need a large piece of glass to stick in the negative stage so you can level against it to your baseboard via a carpenter’s square. The manual says to do this with a 24 inch square and I found this sage advice; it worked with little trouble (unless your square isn’t square, in which case, get a new square).
Once you’re level left and right, you have to then level front to back. In my version of the manual, this is called the adjustment screw, which sits against the lower counterbalance bar. Using your glass and square, do the same procedure to find your front to back level.
This may sound convoluted (and I suspect I’ll just have to make a video), but in practice this does not take long to do. Considering I haven’t touched this procedure in like four years, you can be assured it’s not a daily sort of thing when you’re printing in my experience.
Aligned and ready to roll
With all the major lifting done, I’m headed back into the dark. Time to do some printing.